When I was a student I always had access too tons of free storage. whether it was through Onedrive for students or Google Drive I usually had 1 or 2 terabytes of storage to work with. This was really nice for storing important documents and pictures, but the problem came when I graduated and lost access.
I had accumulated around 50GB of data. This is too much data to fit into any free tiers for cloud storage as most free limits ends around 15GB. When I started shopping around for storage options everything felt a bit pricey.
I was in this weird limbo where I had more data than the free tiers but not enough where the plans seemed worth it. Then I started thinking well isn’t cloud storage pretty cheap? I’ve messed around with cloud storage at a couple of jobs before and s3 compatible storage always seemed pretty cheap.
So in keeping with the theme of Cutting Out The Middlemen I decided to look into my options for just using s3 directly.
When I started researching I came across rclone, and it felt like exactly what I needed. A pretty straightforward cli for backing up local files to different storage providers with support for tons of different options.
Getting Started
I installed rclone with homebrew on my mac and was ready to go pretty soon after that.
brew install rcloneFrom here I needed to set up a storage provider. Basically where I was going to store my files. Rclone supports a bunch of different providers, and I decided to go with Backblaze B2 since it paints itself as a cheaper version of AWS S3.
Setting up remote storage provider on rclone is pretty straight forward. Just
run the rclone config command and follow the prompts. For Backblaze I needed
to get an Account ID and Master Application Key.
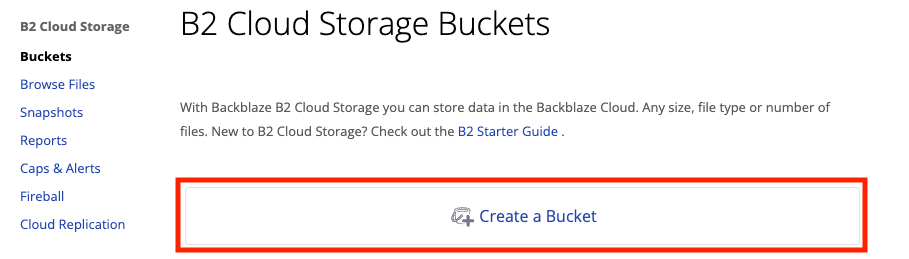
I went to Backblaze and created an account for B2 Cloud Storage. After signing go ahead and make a bucket.
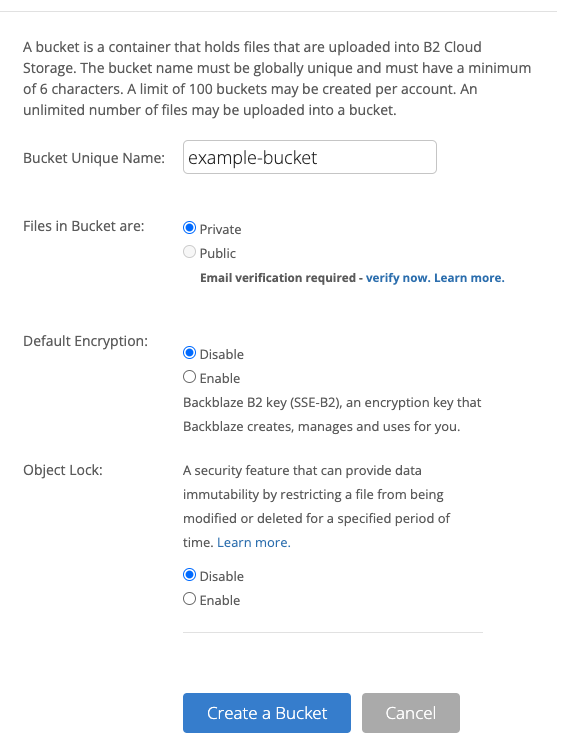
You can make buckets using rclone too, but when you make a application key you can scope it down to specific buckets. So for security’s sake I made a bucket and then scoped my key down to that.
From the dialog window enter a name for the bucket and follow the remaining prompts. Note you cannot rename the bucket once it is created. I also made it private and enabled encryption.
Hit create and head over to Application Keys under Account on the sidebar.
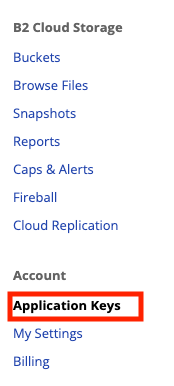
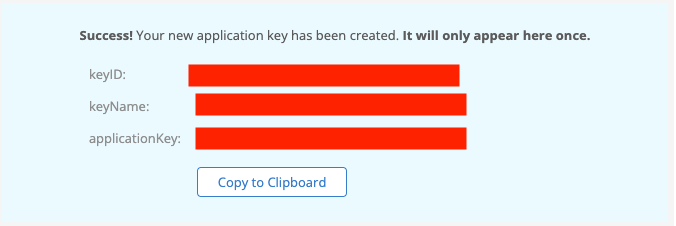
From there press Add a New Application Key and follow the prompts to get
your key. The KeyID corresponds to the Account ID in rclone config, and the
applicationKey field corresponds to key in rclone config
Once you have your key run rclone config and follow the prompts to set up a
new remote. Once you’re done run rclone listremotes and confirm tht you see
your new remote.
Now you are ready to start backing up your files.
Usage
GUI
Now if you prefer a graphical interface rclone actually supports this pretty
well. Run the below command, and a graphical interface will pop up in your
browser.
rclone rcd --rc-web-gui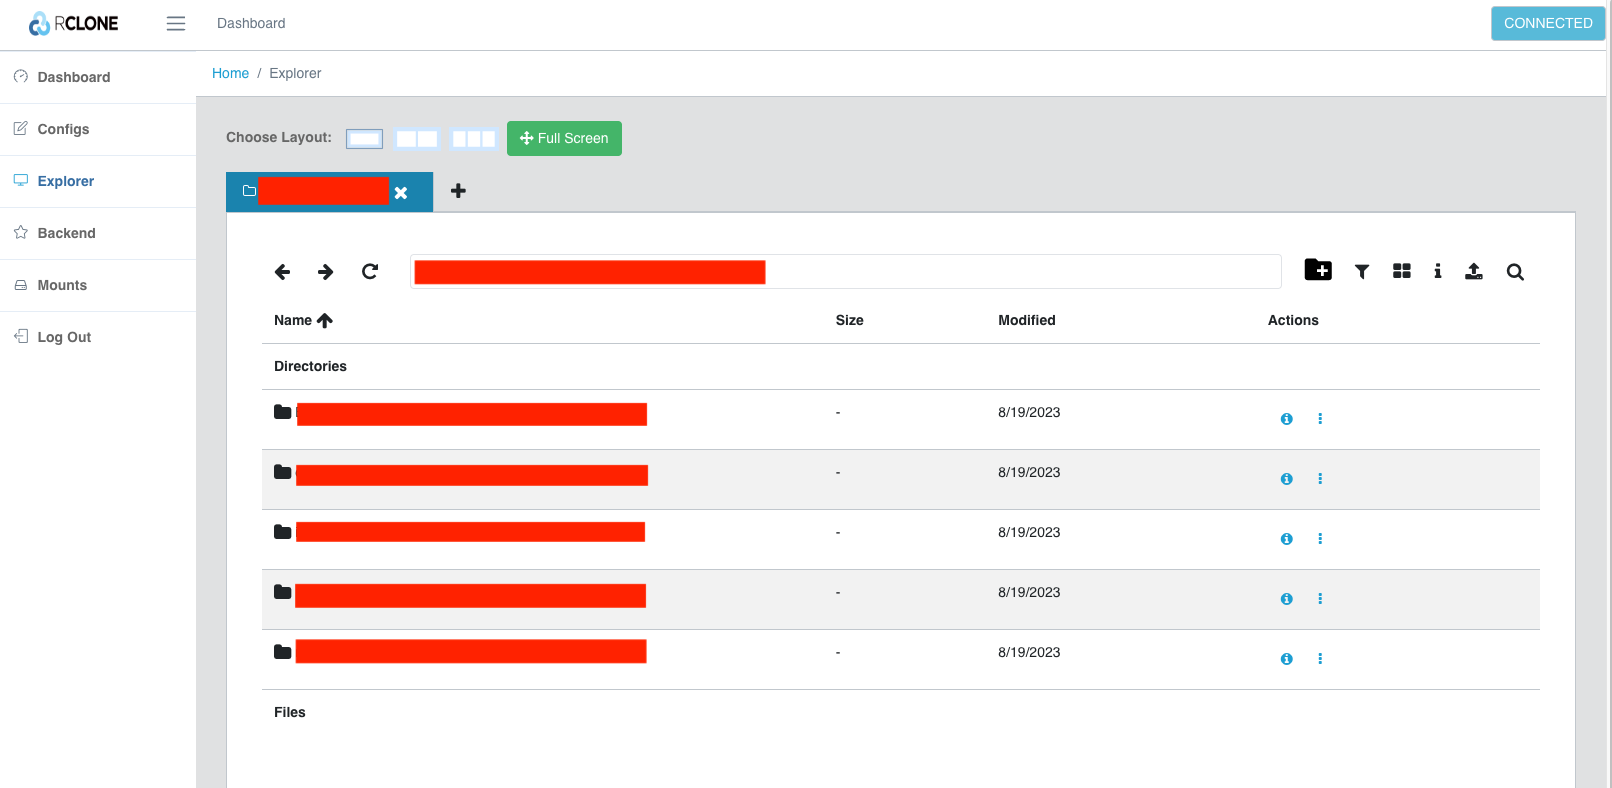
From the main page head to the explorer tab and enter the name of your
remote from the rclone config step. Now you can use rclone as an intermediary
to upload and download files on the remote just like a regular file explorer.
CLI
If a gui is not your thing you can use the rclone cli to upload and download
files too. If you’re familiar with navigating a bash terminal then a lot of the
commands should be familiar. Below is a list of a few useful ones to get you
started.
rclone config— used to run an interactive session for setting up a remoterclone copy— used to copy files to remote but ignores already existing files. Used for directoriesrclone copyto— used to copy individual filesrclone lsd— used to list directories on a remoterclone ls— used to list files on a remoterclone tree— tree view of the filesrclone mount— used to mount a remote as a part of your filesystem — note on Macs this is not supported out of the gate and requires some additional configuration.
When you run filesystem type command on a remote it generally follows the following format:
rclone <command> <remote>:<bucket>/path/to/fileFor example copying a folder to a particular path in a bucket on your backblaze r2 remote would look like
rclone copy "local folder" "<remote>:<bucket>/remote folder"I generally use quotations for folder names just to nothing get’s messed up by spaces in paths. From here I can now start copying folders to the remote and having and s3 based back up of your files.
For backblaze it is recommended to up the number of simultaneous transfers you have going. I used 32 on my M1 Macbook Pro. So to start backing up files I ran commands like below.
rclone copy --transfers 32 -P -v "local folder" "remote:bucket/remote_folder"-P will show the progress and -v ensures a verbose output. From here you can
write scripts and make cron jobs to back up files on a regular cadence.
You can back up files from multiple different sources and use your remote
storage provider to share download links. There’s a ton of possibilites.
Gotchas
Dry Runs
This is probably the most important tip I can give you. For almost every command
that will change files there is a global flag to run a dry run — --dry-run.
Just do yourself a favor and always run a command with this flag first to make
sure it’s doing what you want it to do.
More about the global flags is covered in rclone global flags
Copy Command
There are a few things to point our and mistakes I made that I want to call
out. Firstly commands like copy and generally a lot of rclone defaults to
referencing directories instead of individual files. Note the difference between
copy and copyto. So:
rclone copy source:sourcepath dest:destpathwill copy the contents of sourcepath/`` into destpath/. It works as if there is always a trailing /` in the path. This is covered well in the rclone
copy docs, but I was a bit
overzealous and ended up messing up my remote directory structure once or twice.
Sync Command
Another thing is you might immediately be inclined to use the sync command,
but I would recommend against this if you want to be safe. sync will delete
files on the remote that aren’t on local, so if you’re uploading files from
multiple different devices you could easily end up deleting stuff on the remote.
Instead I would recommend to do two copy commands. The copy command will
ignore pre-existing files so just run one from the remote to local and then
local to remote.
rclone copy "remote:path" "local/path"
rclone copy "local/path" "remote:path"
Deduplication
A really cool feature of rclone, and a lot of the remote storage providers is the option to deduplicate files based on a hash. This is great when you are messing around a lot and want to ensure you are using the minimum space. Deduping by hash also ensures you don’t just have copies of files mixed around your directories.
I first just like to see how many duplicates are detected.
rclone dedupe --dedupe-mode list --by-hash remote:bucketYou can then go through interactively and decide for each duplication what to do with the files. Either keep a single copy, do nothing, rename files, etc. There’s more information on the dedupe command docs
Overall this was a fun little exercise and just let me learn more about rclone
and cloud storage. It’s arguable how worth it is to store your files this way.
Depending on how much you’re storing it could be cheaper to use Google Drive or
drop box and there’s an argument that the hassle isn’t worth it.
I’m not really the type to claim skipping your morning coffee is the key to becoming a millionaire, but to anyone who wants to back up their files just want to share the option.